File importing#
Importing a model file containing a surface, set of points, lineworks, or a mixture, is essential in more complex projects. In this chapter we go over how to import one or multiple files as well as what to keep in mind during the process.
File format support
Currently the Terna3D app supports a limited amount of file formats for loading models into the app. Make sure to export the file, or convert it, into one of the formats listed in Supported formats before proceeding.
Import the file(s)#
- Copy the file(s) onto a USB-stick or other external storage unit. Currently files can only be loaded from internal storage or external storage like a USB-stick.
File location
The file(s) can be located on external storage device, like USB-stick or in internal device storage. The steps are the same, but in this guide we assume the file(s) are located on a USB-stick.
- Create a new project if the project does or has contained objects from other worksites far away from the current one. Otherwise this could lead to inaccuracies due to the project spanning too large of an area.
- Make sure the coordinate system and height system of the project is correct for this file.
- If not, the coordinate system and height system can be changed in the project settings.
- Insert the USB-stick into the tablet.
-
In the app, open the Project overview with the project overview button at the bottom of the screen.

-
Press the add button in the project overview and select file import in the dropdown menu. This opens the Android file explorer.


-
Navigate to the file(s) on the USB-stick.
- Select either one file by tapping on it or hold to select multiple files for import.
- If multiple files are selected, press SELECT in the top right corner to start the importing.
- Wait for the import to finish, this could take some time depending on how large the files are and what is in the project previously.
-
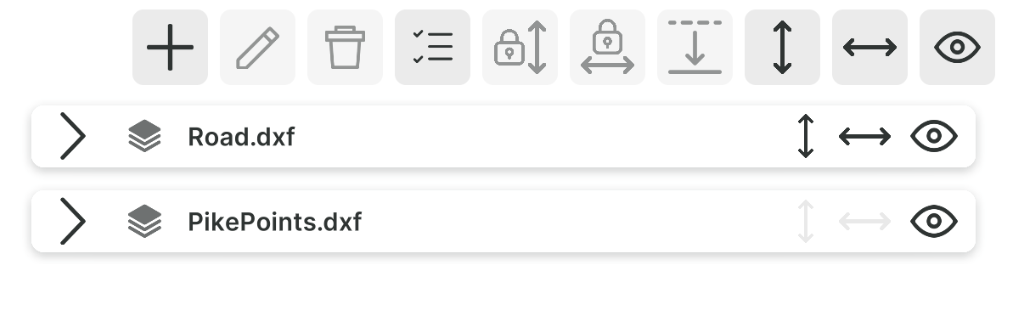
Once the import is complete, new layers for each imported files should be visible in the project overview.
-
Done! Now you can close the project overview with the arrow at the top, unless you want to explore the project further.
Supported formats#
| Supported formats | Note |
|---|---|
| DXF | Only versions later than AutoCad2000 |
| LandXML | Limited support |
DXF#
The app supports DXF version AutoCad2000 or later and the following DXF elements:
- Meshes
- Polyface Meshes
- Faces 3D
- Polygon Meshes
- Solids
- Lines
- Polylines 3D
- Polylines 2D
- Arcs
- Circles
- Ellipses
- Splines
- X-Lines
- M-Lines
- Points
- Text
- Inserts with attributes
LandXML#
The LandXML support is in an early phase and has limited support. Currently lines, points and surfaces are supported from selected LandXML elements:
- Alignments
- Parcels
- Plan Features
- Surfaces
- Cg Points
This has an overview of the most commonly used abbreviations used in the documentation.