Layout Editor#
The layout editor provides controls to edit various parts of the run screen. You can edit the action bar and the view layout in this screen. In this chapter we'll go over the layout editor's functionality to add, remove and resize views as well as editing the action bar.
Enter editor#
Press the Layout Editor button in the action bar to enter the editor for the run screen layout.
Exit editor#
To exit the editor, press the X button located where the layout editor button was on screen.
If however there were changes made, this button is now a revert button. Press this to discard any changes made.
A confirmation popup will appear to verify that you really intended to discard the changes. Press Yes to restore the run screen to the previous layout, press No to go back to the editor with the changes intact.
If you instead wish to save the changes, press the Save button next to the revert button. This will save the changes and close the editor.
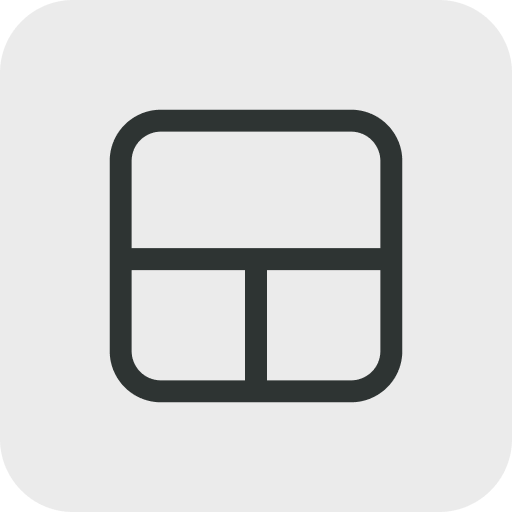
Edit View layout#
The view layout is one of the things that can be edited through this editor. Here we'll go over the basic controls to customizing the view layout to your preferences.
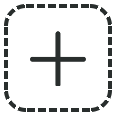
Adding more views#
To add a view to the view layout, tap the + ADD VIEW button near the bottom of the screen. This will add a new view in a slot that is available. Up to 4 views are supported at one time.
Removing views#
Press the X at the top right of any view to remove it. There will always be at least one view panel.
Resizing views#
To resize a view, you can use the handle bars that appear in-between the views. Press and drag the handle bars to change the size of the views to your preference. The Terna3D app works both in portrait and landscape mode, and will keep the layout intact when switching between the two.
Changing the view type#
You can change the type of a view by using its designated button on the top-left corner in each view. A dropdown menu will appear displaying all available views to choose from.
View type dropdown
The dropdown is scrollable, so there could be more views available than visible at one time!
To get an overview of the existing views, read about them in the Views section.
Swapping and reordering view panels#
You can change the order of the views to create a layout that works best for your use cases.
To reorder the views, press and hold a view with one finger, then drag it over any of the appearing gray boxes and release. Dropping a view on the gray boxes covering another view, will have them swap position. Dropping a view on the gray boxes at the side, top or bottom edges will place the view next to, above, or below respectively.
Edit Action bar#
There are numerous action buttons that can be placed in the action bar at the bottom of the screen. They can be reordered, added, and removed from the action bar. Keep in mind that only the left side of the action bar is customizable. This is indicated by a vertical line separating the custom-selected actions from the fixed layout editor, project overview, and Menu buttons.
Add action buttons#
 To add an action button, press the + button, located at the end of the action bar.
This will open the action browser. Here you can find all actions available for adding to the action bar, organized in different categories.
No duplicate actions are allowed, so any action already in the action bar will be greyed out in the browser.
Press an available action and it will be placed at the end of the customizable action bar.
Reorder action buttons#
To reorder buttons in the action bar, start by pressing and holding the button you want to move for a short time. Now you can drag the button to the desired slot in the action bar. Release to place the button in the new location. The order of the rest of the buttons are maintained and they will move left or right to make space for the moved button.
It is also possible to scroll the action bar while holding a button for reordering. Hold the button over the edge of the action bar in the direction you would like it to scroll. This is great if you have many buttons and wish to move one button to a location that you can't currently see.
Remove action buttons#
To remove a button from the action bar, simply pull it outside the action bar. Do this by pressing and holding on the action bar button you want to remove. Then drag and release outside the action bar.
This has an overview of the most commonly used abbreviations used in the documentation.